Let’s say you have a collection of images you want to turn into a zoomable map. This also means you want to give them a unified look. Before MapTiler Desktop 9, there was a need to make a color correction in a specialized tool. Now, you can do it directly before rendering your final map, for a batch of images and, most important, automatically from a reference image.
Automatic color correction
This new function can be entered by clicking on “Color correct” button in the screen following georeferencing and preceding rendering output selection.
The function’s screen is divided into two sectors: the left part shows the processed image, on the right side are located color correction tools and in case you decide for the automatic color correction, there is in the top right corner the zoomable reference image.
For automatic color correction, add a new image as a reference by clicking on “Open new reference image”. This can be repeated with more pictures until you are satisfied with the look. By clicking on “Select reference image”, you can switch between the already loaded reference and processed images.
If you are pleased with the output, just click on “Save color corrections” and continue with rendering. Closing without saving is also possible. If you are not 100% happy with the outcome, you can manually change specific values.
Fine-tune your image with manual correction
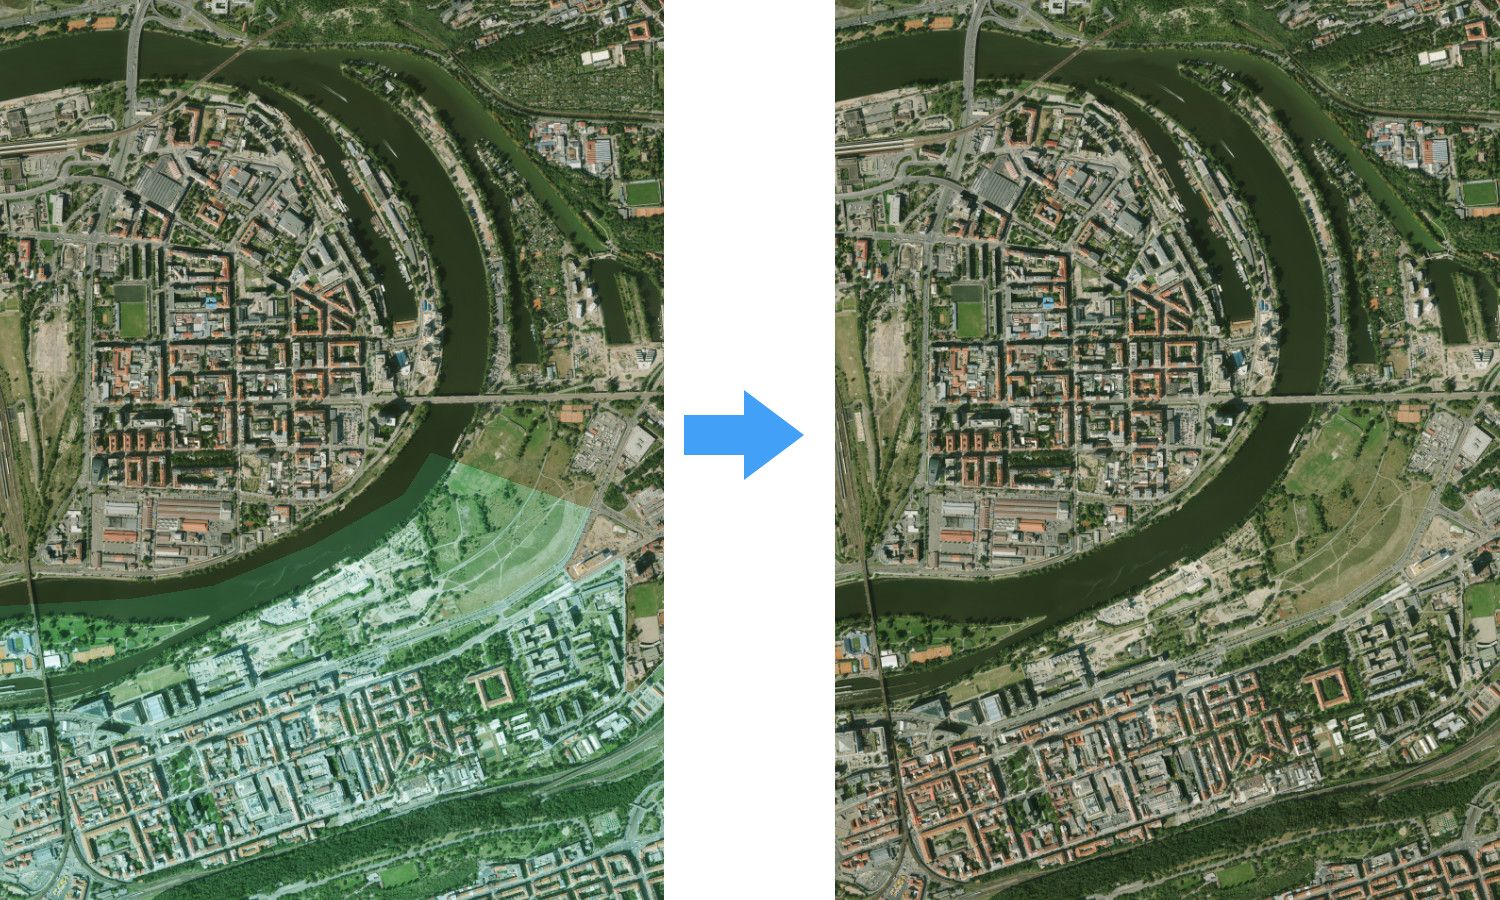
Automatic color correction can do a magic to convert your map image to something close to the ideal model. However, sometimes small manual corrections need to be done to finalize your desired look.
Next to the “Auto” function, there are settings for “Contrast”, “Gamma” and “Saturation”. Each of them contains sliders and input field. There are either default values or values set by automatic color correction.
Each value can be changed by sliding or changing the value in the input field, the result of this operation is immediately visible on the processed image. Don’t be afraid to play around with the values a bit, because resetting to default without quality loss is always possible by clicking on “Reset default values” or by repeating reference image selection.
What else brings MapTiler Desktop 9?
The Color correction function is the shiniest news in MapTiler Desktop 9, but other improvements were done as well:
- Next to Baidu and Global Geodetic (WGS84) presets, there have been few others added: S-JTSK / Krovak which is widely used in Czechia and Slovakia, Yandex used in Russia, NZGD2000 for New Zealand, OSGB1936 for the United Kingdom and CH1903 for Switzerland.
- New tiling scheme for Folder output render option — ZYX with URL format: {z}/{y}/{x}.png.
- Generates Leaflet example for other than Mercator tiling grids.
The updated version is now available at www.maptiler.com. Try it out for free now!